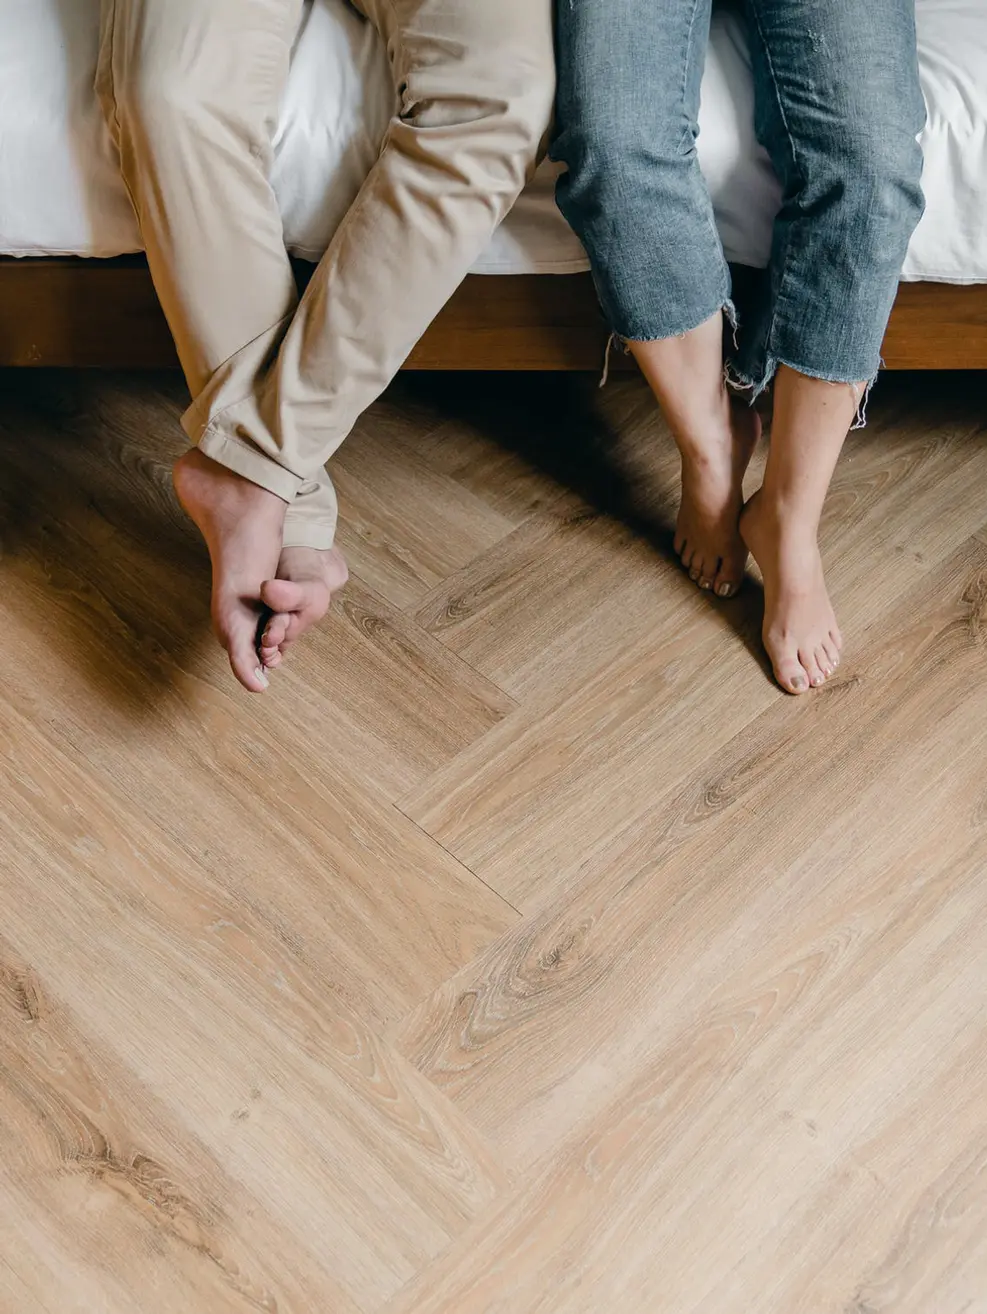
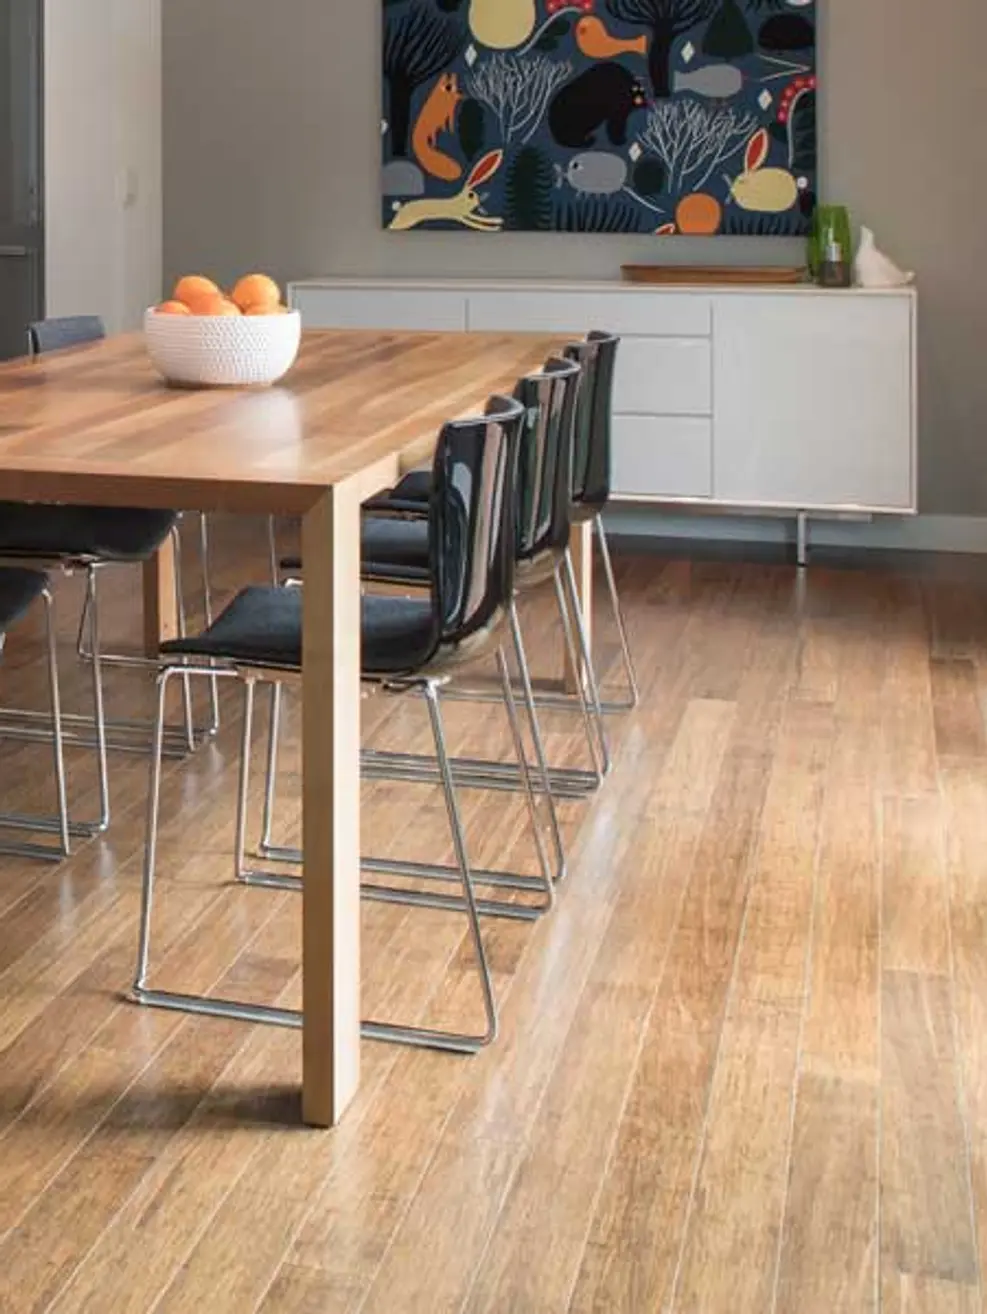
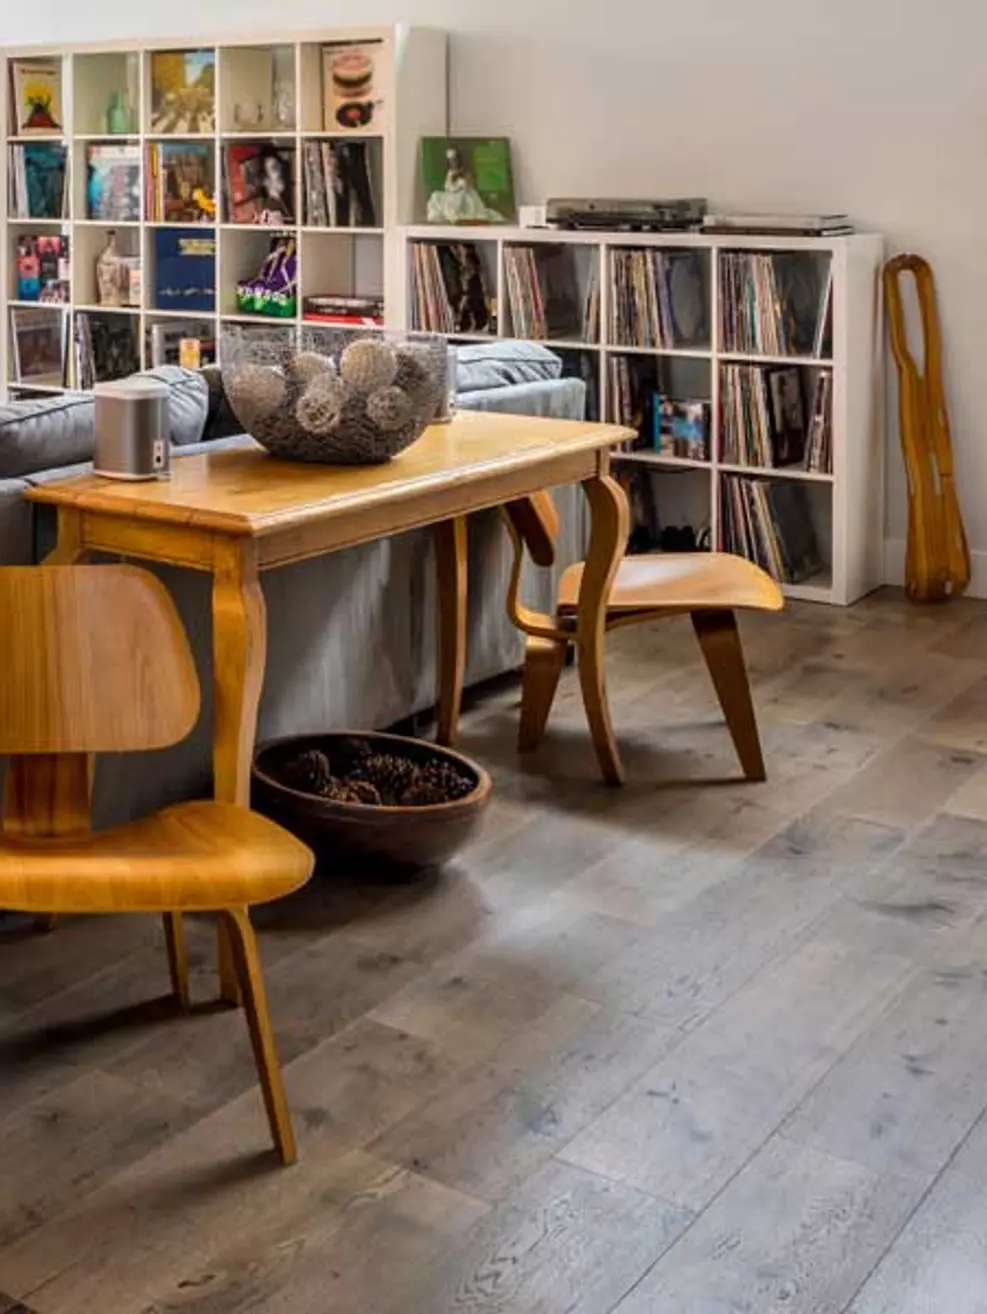
There's something undeniably charming about old wood flooring – the character, the history, the warmth it brings to a space. However, over time, even the most well-loved wood floors can start to show signs of wear and tear. But fear not! With the right refinishing techniques and restoration tips, you can breathe new life into your old wood flooring, restoring its beauty and preserving its timeless appeal. In this blog, we'll explore the art of reviving old wood flooring, from refinishing to restoration, so you can enjoy your floors for years to come.
- Assessing the Condition:
- Before diving into any refinishing or restoration project, it's essential to assess the condition of your old wood flooring.
- Look for signs of damage such as scratches, gouges, stains, or water damage, as well as areas where the finish may be worn or dull.
- Take note of any areas that require repair or replacement, such as loose boards, gaps between planks, or raised nails.
- Sanding and Prep Work:
- Sanding is a crucial step in refinishing old wood flooring, as it removes surface imperfections, smooths out uneven areas, and prepares the wood for a fresh finish.
- Begin by thoroughly cleaning the floor to remove any dirt, dust, or debris. Use a vacuum followed by a tack cloth to ensure the surface is clean and free of contaminants.
- Use a drum sander or orbital sander with progressively finer grits of sandpaper to sand the entire floor surface, working in the direction of the wood grain.
- Pay close attention to high-traffic areas and heavily worn spots, taking care not to over-sand and damage the wood.
- Repairing and Patching:
- After sanding, inspect the floor for any areas that require repair or patching.
- Fill gaps between boards with wood filler or epoxy resin, and use wood putty to fill in scratches, gouges, or other surface imperfections.
- Replace any damaged or irreparable boards with new ones that match the species and grain pattern of the existing flooring.
- Allow any patching compounds or fillers to dry completely before proceeding to the next step.
- Staining and Finishing:
- Once the floor has been sanded, repaired, and cleaned, it's time to apply a new stain and finish to enhance its appearance and protect the wood.
- Choose a stain color that complements the existing decor and desired aesthetic, whether it's a classic natural finish, a rich walnut hue, or a contemporary gray tone.
- Apply the stain evenly with a brush or rag, working in small sections and wiping away any excess to achieve the desired color intensity.
- Allow the stain to dry completely before applying multiple coats of a durable polyurethane finish to seal and protect the wood surface.
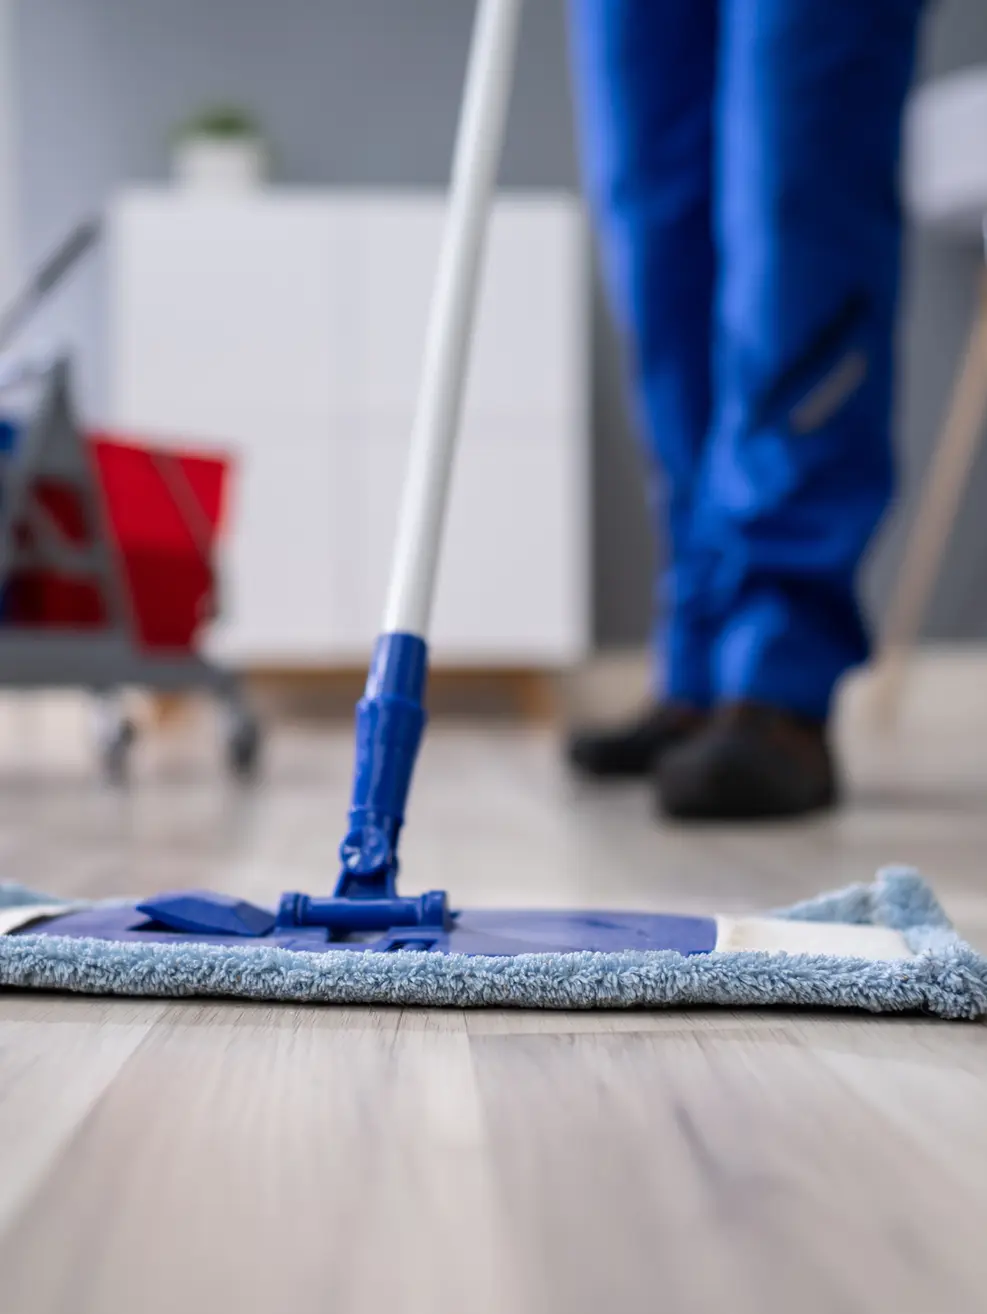
- Maintenance and Care:
- To keep your newly refinished wood flooring looking its best, establish a regular maintenance routine.
- Sweep or vacuum the floor regularly to remove dirt, dust, and debris, and use a damp mop or microfiber cloth to clean up spills and stains promptly.
- Place protective felt pads under furniture legs to prevent scratches and dents, and use rugs or mats in high-traffic areas to minimize wear.
- Avoid using harsh chemicals or abrasive cleaners on the floor, as these can damage the finish and dull the wood's natural luster.
Reviving old wood flooring is a rewarding endeavor that can breathe new life into your home while preserving the character and charm of your floors. By following these refinishing techniques and restoration tips, you can transform tired and worn wood flooring into a stunning focal point that adds warmth, beauty, and value to your space. So roll up your sleeves, unleash your creativity, and let the revival begin!