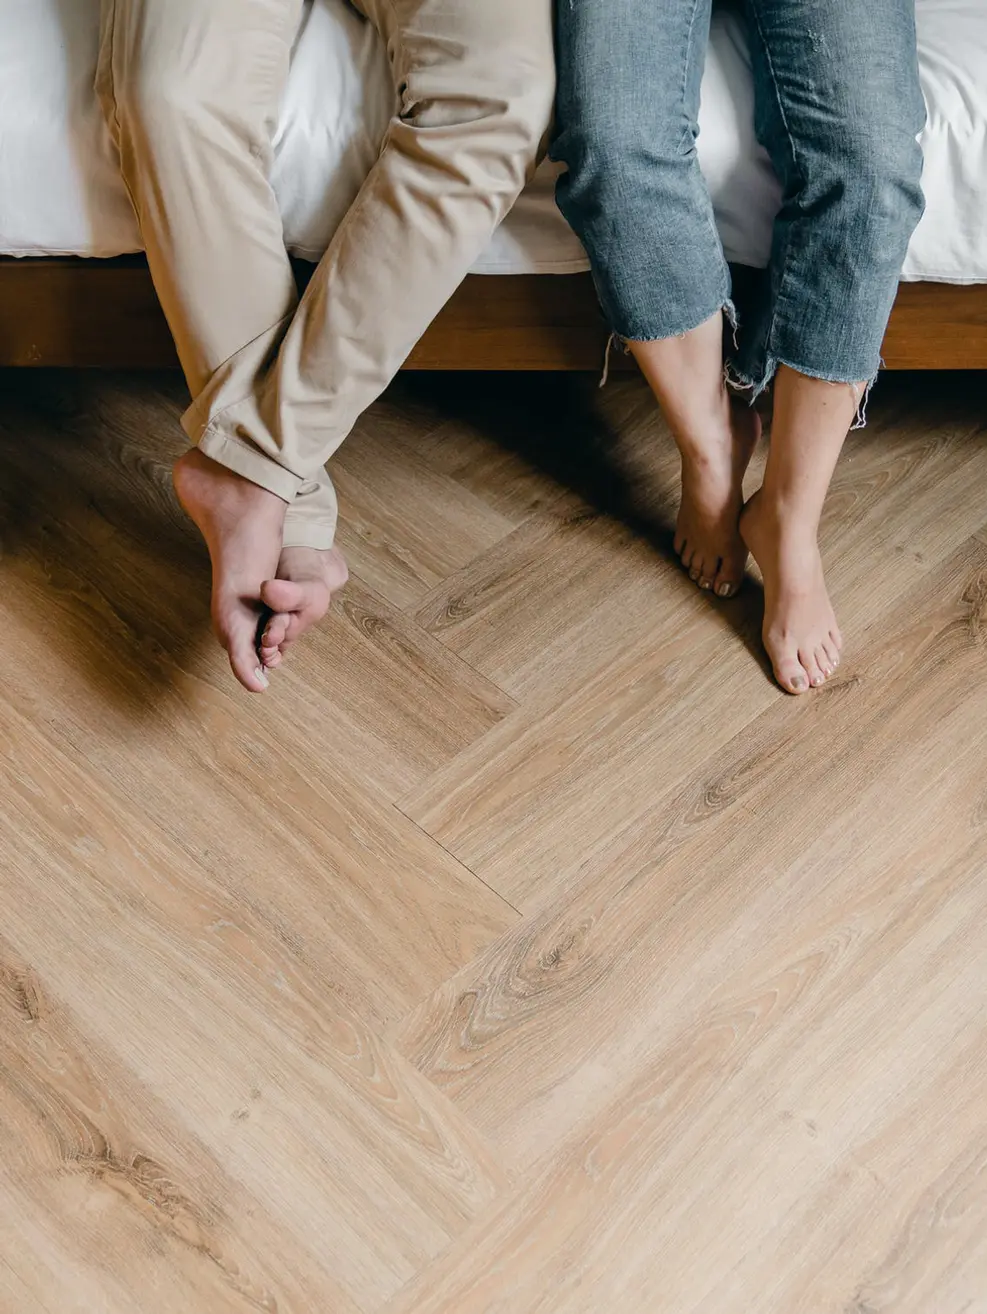
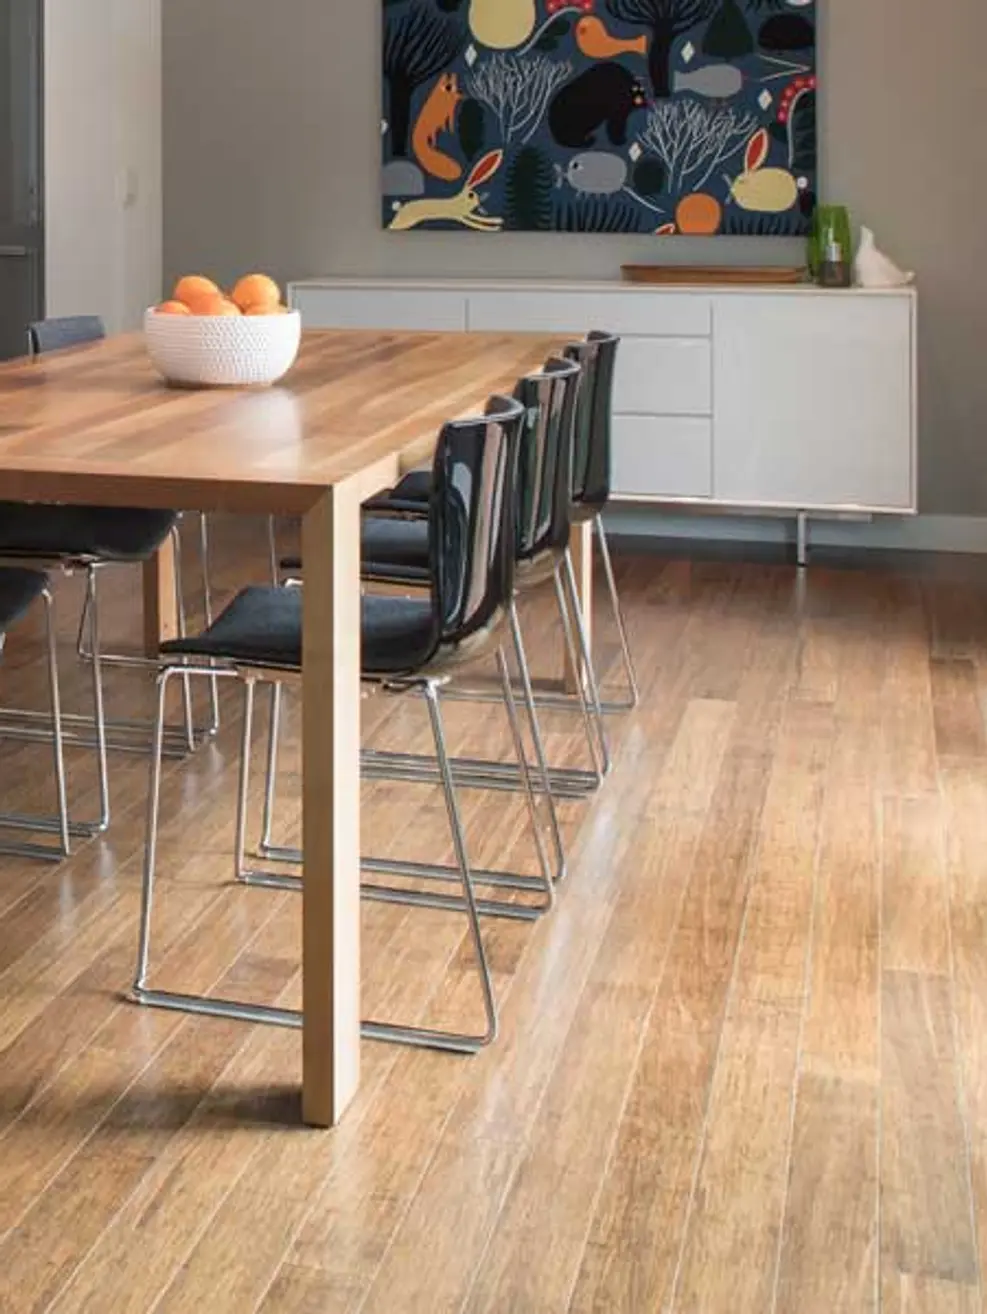
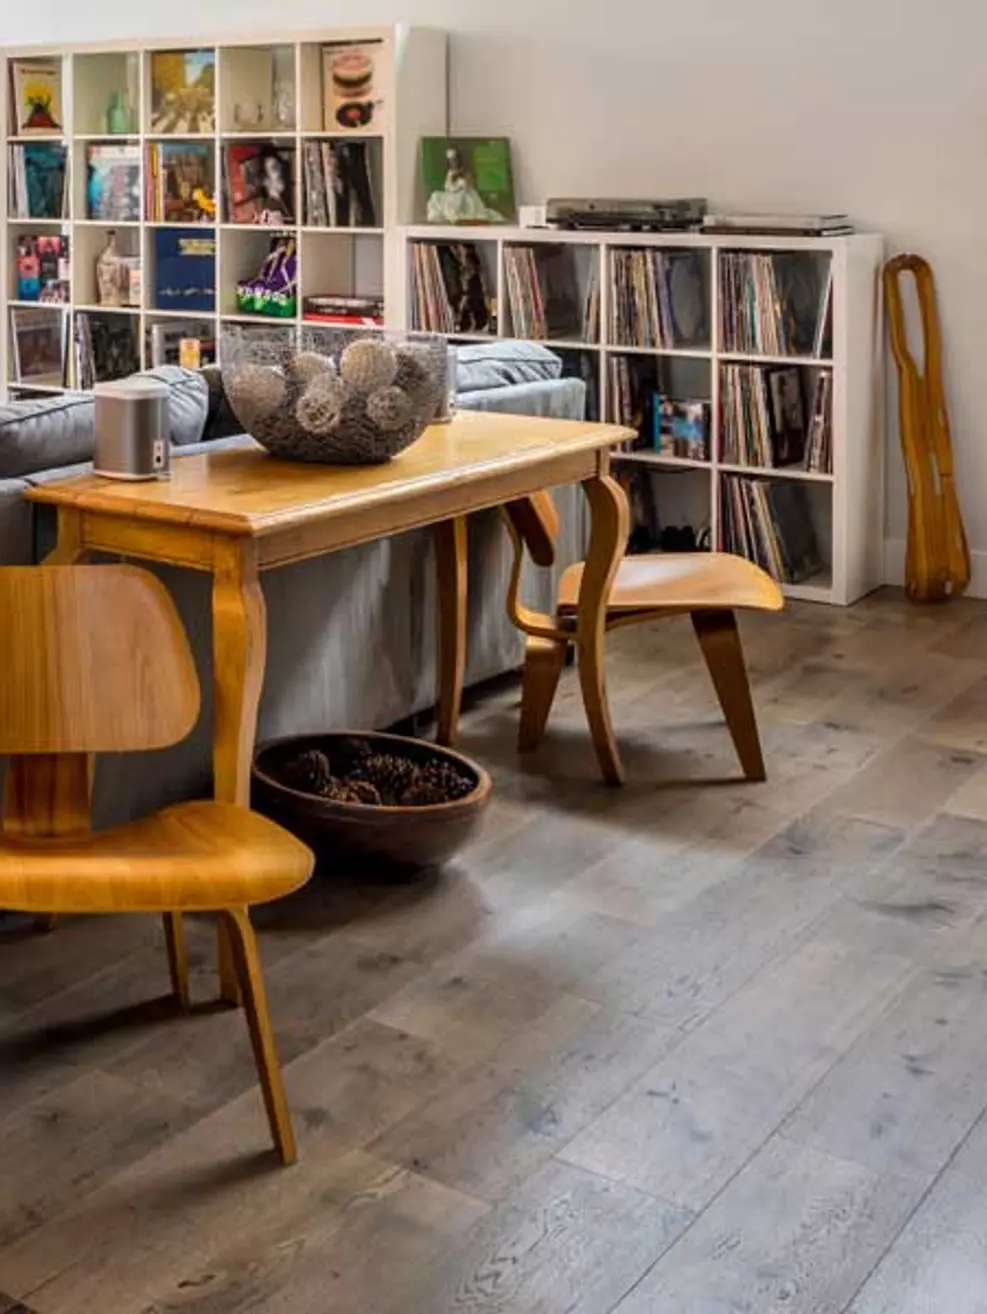
Calling all DIY enthusiasts! The allure of parquet flooring's timeless elegance is undeniable. But can you achieve this stunning look yourself? Absolutely! With the right preparation and this handy guide from The Wood Flooring Hub, you can embark on your parquet flooring installation journey with confidence.
Before You Begin: Gathering the Essentials
- Parquet flooring: Ensure you have enough high-quality parquet flooring to cover your chosen space. Consider ordering a slight excess to account for potential wastage during cutting.
- Underlayment: Choose an underlayment suitable for your subfloor type and parquet flooring option (solid or engineered wood).
- Tools: Gather essential tools like a tape measure, utility knife, hammer, saw (mitre saw recommended for precise cuts), mallet, tapping block, and a spirit level.
- Adhesive: Select the appropriate adhesive for your chosen parquet flooring type (solid or engineered wood).
Laying the Foundation: Subfloor Preparation
- Inspection is key: Ensure your subfloor is level, clean, dry, and free of debris. Address any unevenness or imperfections before proceeding.
- Moisture barrier: If necessary, install a moisture barrier to protect your parquet flooring from moisture transmission, especially on concrete subfloors.
- Underlayment installation: Lay down the underlayment according to the manufacturer's instructions. Ensure proper seams and secure them with tape.
Bringing it Together: Parquet Installation Fundamentals
- Plan the layout: Sketch a layout plan to minimize cutting and wastage. Consider starting from the center of the room and working outwards.
- Cutting the planks: Precise cuts are crucial. Use a mitre saw for clean angles and a straight saw for straight cuts.
- Laying the first row: Start with a full plank along a straight wall. Use spacers to ensure consistent gaps between planks and the wall.
- Securing the planks: Apply adhesive according to the manufacturer's instructions and gently tap each plank into place using the tapping block and mallet. Ensure a tight fit without damaging the wood.
- Continuing the pattern: Work your way row by row, carefully adhering to your planned layout and ensuring proper alignment of the pattern.
- Cutting around obstacles: For pipes or other obstacles, measure precisely and cut the planks accordingly to fit seamlessly.
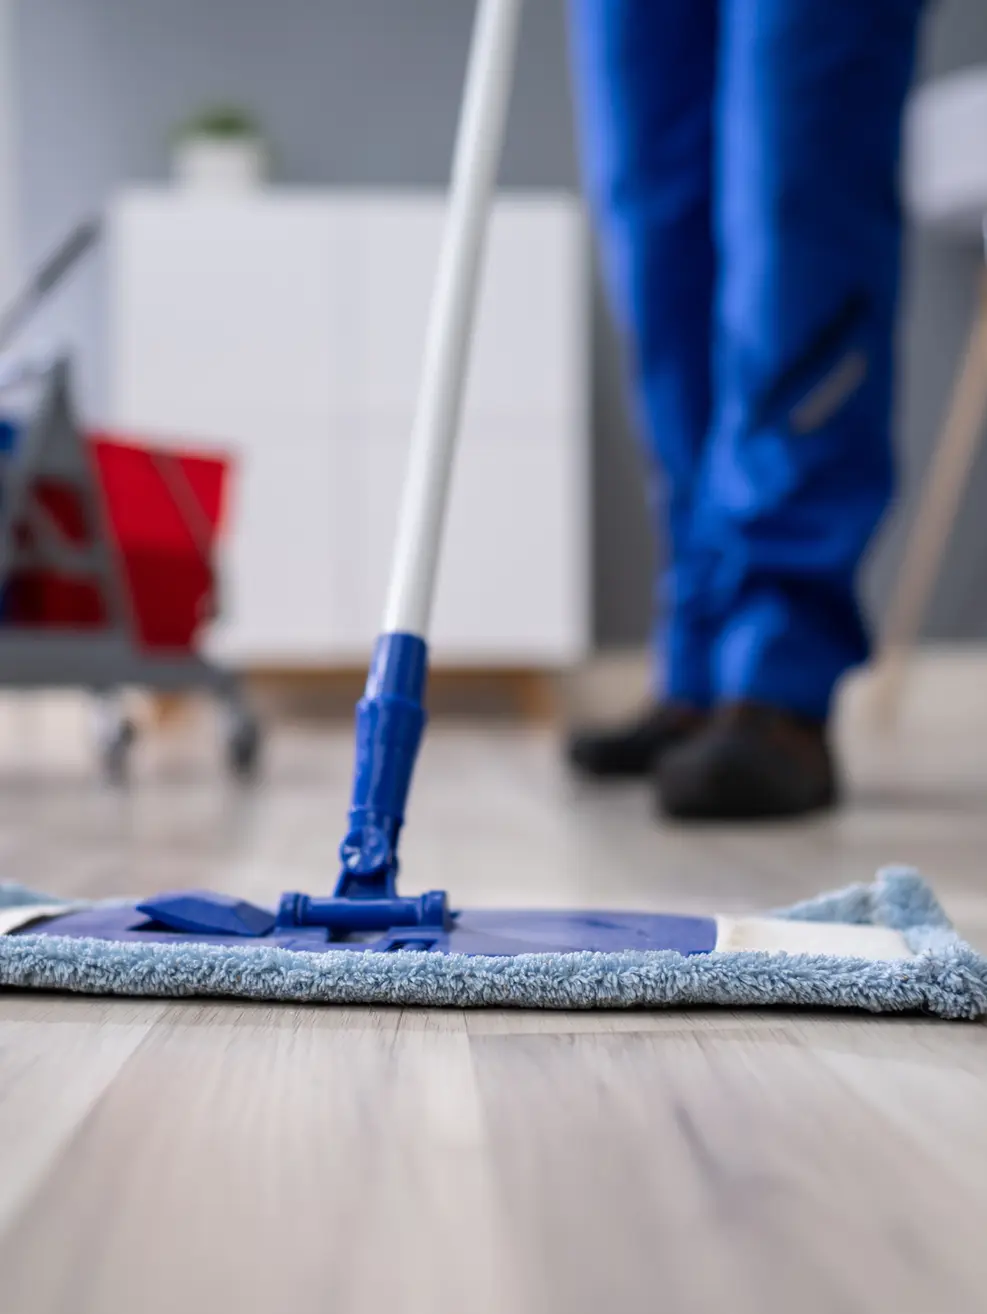
Finishing Touches: Sealing and Trimming
- Sanding (optional): If minor imperfections exist, lightly sand the surface for a smooth finish.
- Sealing: Once the adhesive cures completely, apply a high-quality wood floor sealant recommended for your chosen finish.
- Trimming the edges: Use a saw to trim the final row of planks for a perfect fit against the wall.
- Installing skirting boards: Conceal any expansion gaps and add a finishing touch with skirting boards.
Congratulations! You've successfully installed your parquet flooring. By following these steps meticulously and using high-quality materials, you can achieve a professional-looking parquet floor that adds timeless beauty to your home.
Pro Tip: If you're a first-time DIYer, consider practicing on scrap pieces of parquet flooring before tackling the actual installation.
The Wood Flooring Hub: Your Partner in DIY Parquet Flooring
At The Wood Flooring Hub, we are passionate about empowering DIY enthusiasts. We offer a wide range of high-quality parquet flooring options and all the necessary tools and materials for your project. Our friendly staff is also happy to answer any questions you may have and guide you through the selection process.
Visit our showroom or browse our online collection today. Let us help you transform your home with the timeless elegance of DIY-installed parquet flooring!