Expert Tips for Installing Solid Wood Flooring Like a Pro

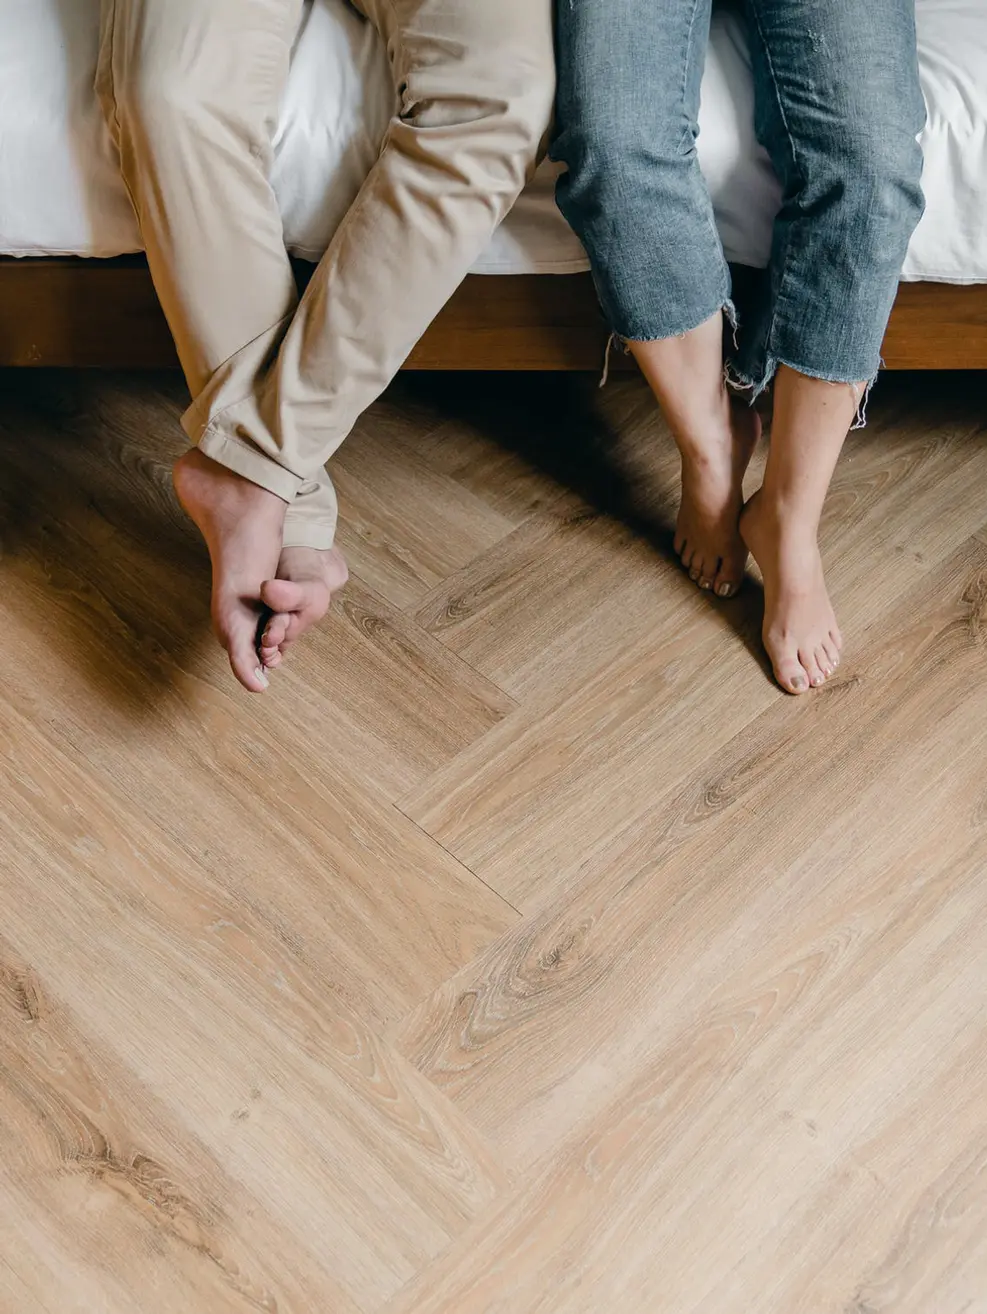
Solid wood flooring is a timeless and elegant choice that brings warmth, beauty, and durability to any home. However, installing solid wood flooring requires precision and expertise to ensure a flawless finish. In this comprehensive guide, we will provide expert tips for installing solid wood flooring like a pro, ensuring that your wooden floors look stunning and last for years to come.
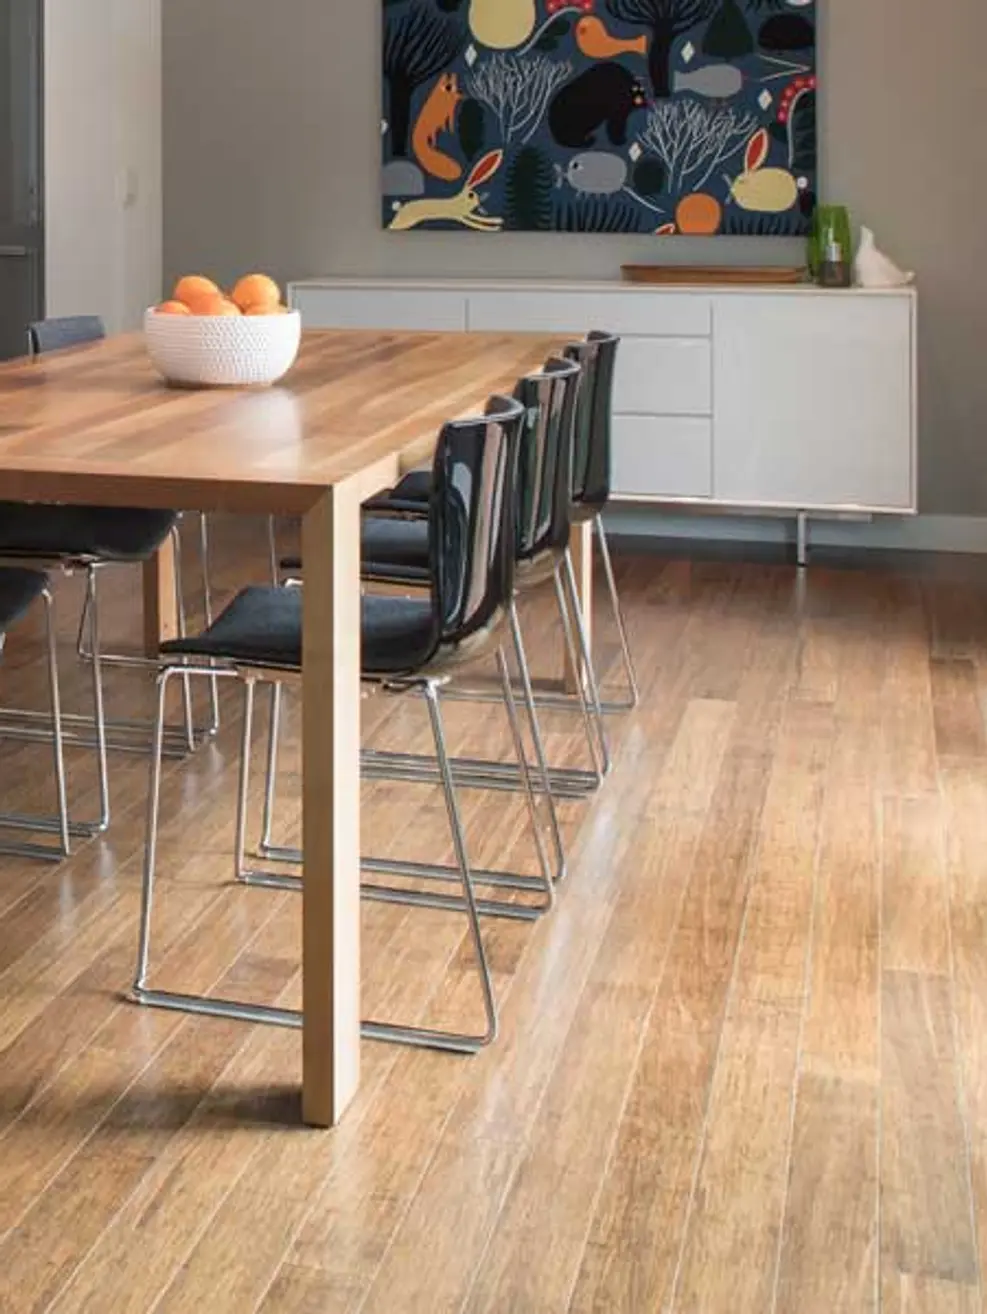
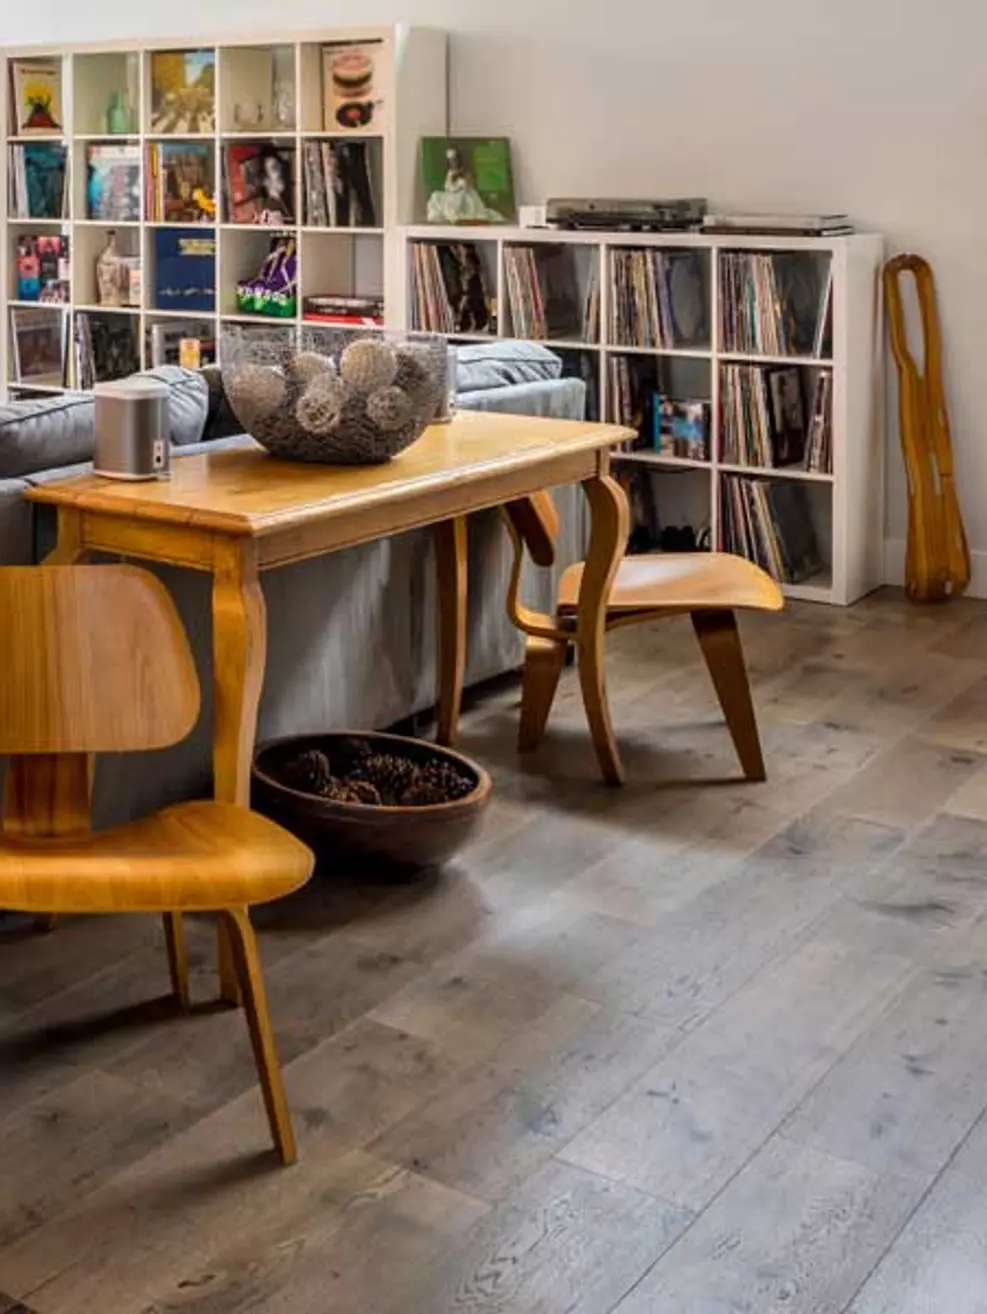
Understanding Solid Wood Flooring
    Before diving into the installation process, it's essential to understand what solid wood flooring is and how it differs from other types of flooring. Solid wood flooring consists of planks made from a single piece of hardwood, such as oak, maple, or walnut. Unlike engineered wood flooring, which has a multi-layer construction, solid wood flooring is cut directly from the tree, providing a robust and long-lasting surface.
    Benefits of Solid Wood Flooring
    • Durability: Solid wood flooring can last for decades with proper care.
    • Aesthetic Appeal: The natural beauty and unique grain patterns of real wood flooring add character and charm to any room.
    • Value Addition: Installing solid wood floors can increase the resale value of your home.
    • Versatility: Available in various wood species, colors, and finishes, solid wood flooring complements any interior design.
      Preparation is Key
        The success of your solid wood flooring installation depends on thorough preparation. Here are some critical steps to ensure you're ready to begin:
          Acclimation
            Solid wood flooring needs to acclimate to the room's temperature and humidity before installation. Place the planks in the room where they will be installed for at least 48-72 hours. This process allows the wood to adjust to the environment, minimizing the risk of expansion or contraction after installation.
              Subfloor Preparation
                A smooth, clean, and dry subfloor is essential for a successful installation. Remove any existing flooring and ensure the subfloor is level. If necessary, use a leveling compound to address any low spots. For wooden subfloors, secure any loose boards and sand down high spots.
                  Moisture Barrier
                    Moisture can damage solid wood flooring, causing it to warp or buckle. To protect your floors, install a moisture barrier, such as a polyethylene sheet or a specialized underlayment designed for hardwood flooring. This barrier will help prevent moisture from seeping into the wood from below.
                      Essential Tools and Materials
                        Having the right tools and materials on hand will make the installation process smoother and more efficient. Here is a list of essentials:
                        • Tape measure
                        • Chalk line
                        • Carpenter's square
                        • Pry bar
                        • Flooring nailer or stapler
                        • Rubber mallet
                        • Pneumatic nail gun (if using nails)
                        • Drill and drill bits
                        • Saw (circular or miter)
                        • Wood glue
                        • Safety goggles and ear protection

                          Step-by-Step Installation Guide

                          1. Planning the Layout: Before installing your solid wood flooring, plan the layout to ensure a balanced and visually appealing result. Measure the room and mark the centerline using a chalk line. This line will serve as a reference point for laying the first row of planks. Consider staggering the joints to create a more natural and visually pleasing pattern.

                          2. Installing the First Row  Begin by laying the first row of planks along the longest wall in the room. Place spacers between the planks and the wall to allow for expansion. Ensure the first row is straight and secure it by face-nailing or using a flooring nailer.

                          3. Laying Subsequent Rows Continue laying the planks row by row, ensuring that the ends of the planks are staggered to create a natural look. Use a rubber mallet to tap the planks into place, ensuring a snug fit. For a more secure installation, apply a bead of wood glue to the tongue and groove joints before fitting the planks together.

                          4. Cutting and Fitting Planks Measure and cut the planks to fit around obstacles such as doorways, vents, and corners. Use a circular saw or miter saw to make precise cuts. For a clean and professional finish, use a jigsaw to cut intricate shapes or notches.

                          5. Securing the Planks Once the planks are in place, secure them using a flooring nailer or stapler. Drive nails or staples through the tongue of each plank at a 45-degree angle. Be sure to countersink the nails to avoid damaging the surface of the wood.

                          6. Finishing Touches After all the planks are installed, remove the spacers and install baseboards or molding to cover the expansion gap around the perimeter of the room. Fill any nail holes with wood putty and sand the filled areas smooth.

                            Post-Installation Care
                              Proper care and maintenance are crucial to keep your solid wood flooring looking beautiful for years to come. Here are some tips to help you maintain your new floors:
                                Regular Cleaning
                                  Sweep or vacuum your floors regularly to remove dirt and debris. Use a damp mop with a hardwood floor cleaner for deeper cleaning, but avoid using excessive water, as moisture can damage solid wood.
                                    Protecting Your Floors
                                      Place rugs or mats at entryways to reduce the amount of dirt and moisture tracked onto your floors. Use furniture pads to prevent scratches and dents from heavy furniture. Avoid wearing high heels or shoes with spikes on your wooden floor to prevent damage.
                                        Refinishing
                                          Over time, your solid wood flooring may develop scratches or lose its luster. Sanding and refinishing can restore its original beauty. Depending on the wood species and finish, you may need to refinish your floors every 5-10 years.
                                            Conclusion
                                              Installing solid wood flooring is a rewarding project that can transform the look and feel of your home. By following these expert tips and taking the time to prepare and plan, you can achieve professional results that will enhance your living space for years to come. Whether you're a seasoned DIY enthusiast or a first-time installer, understanding the process and having the right tools and materials will ensure a successful installation. Embrace the beauty and durability of solid wood flooring and enjoy the timeless elegance it brings to your home.

                                              For more information about our wood flooring collectionsparquet flooringengineered wood flooringsolid oak parquet flooringenginereed wood flooringplank wood flooringwood flooring accessories and expert installation services, visit The Wood Flooring Hub or contact us today.

                                              Address: 12 Bramley Drive, Backwell, Bristol, BS48 3HN, UK

                                              Tel: 07891 004814

                                              Email: sales@thewoodflooringhub.co.uk

                                              Back to blog