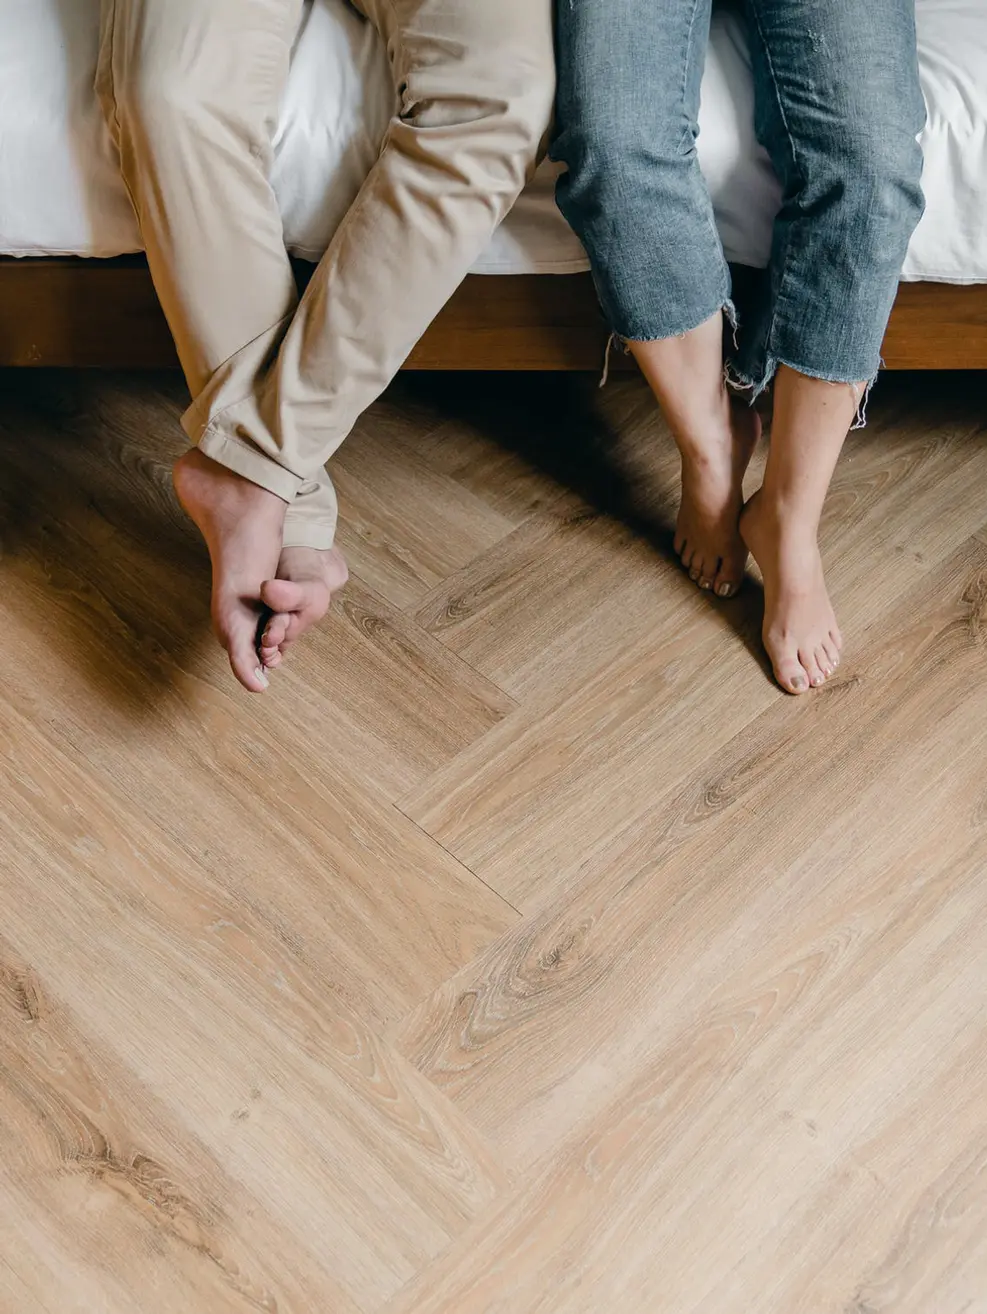
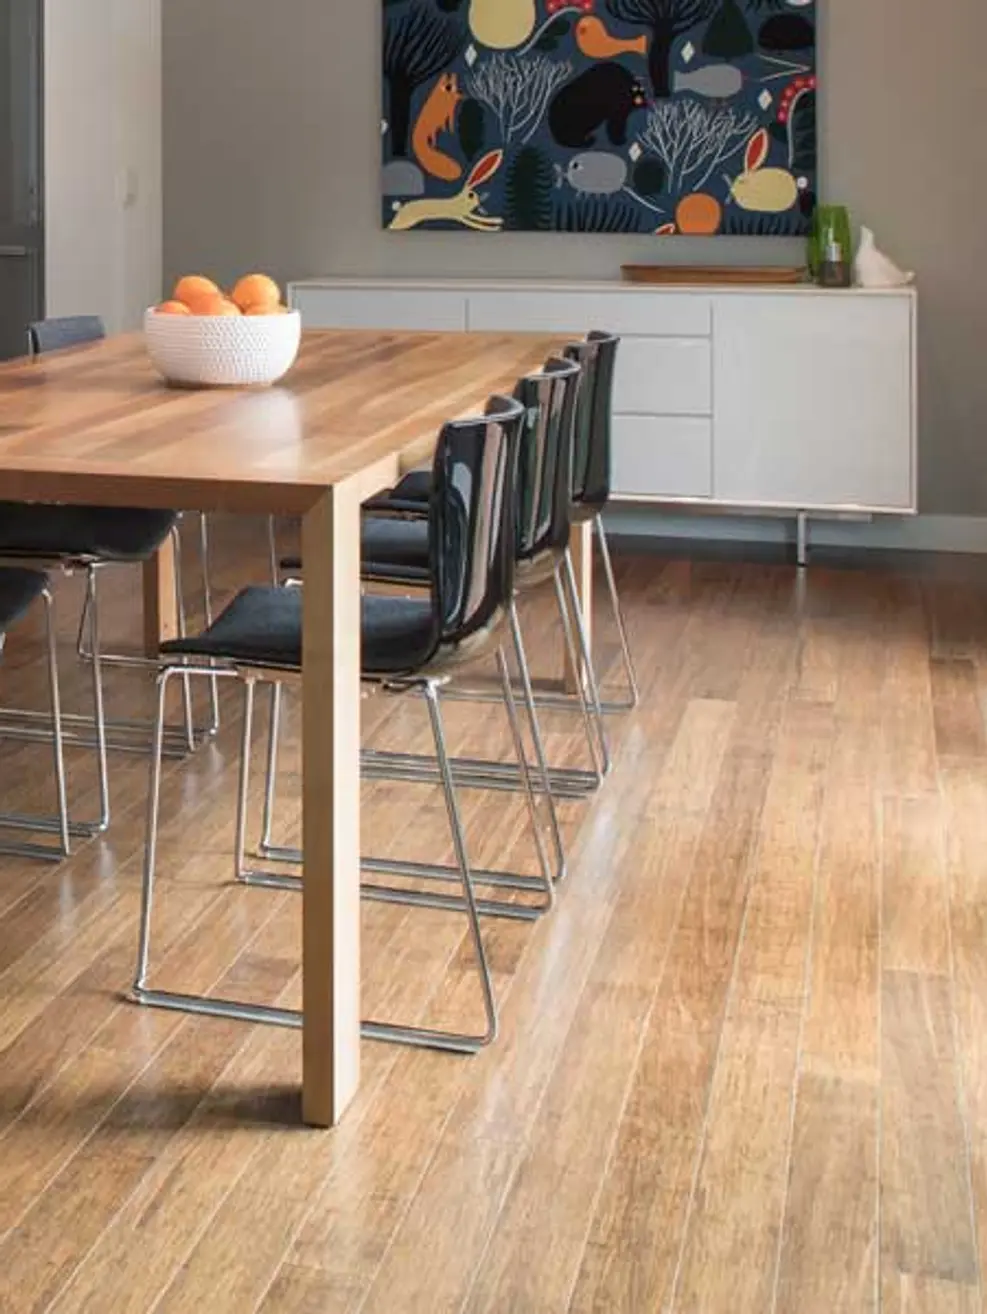
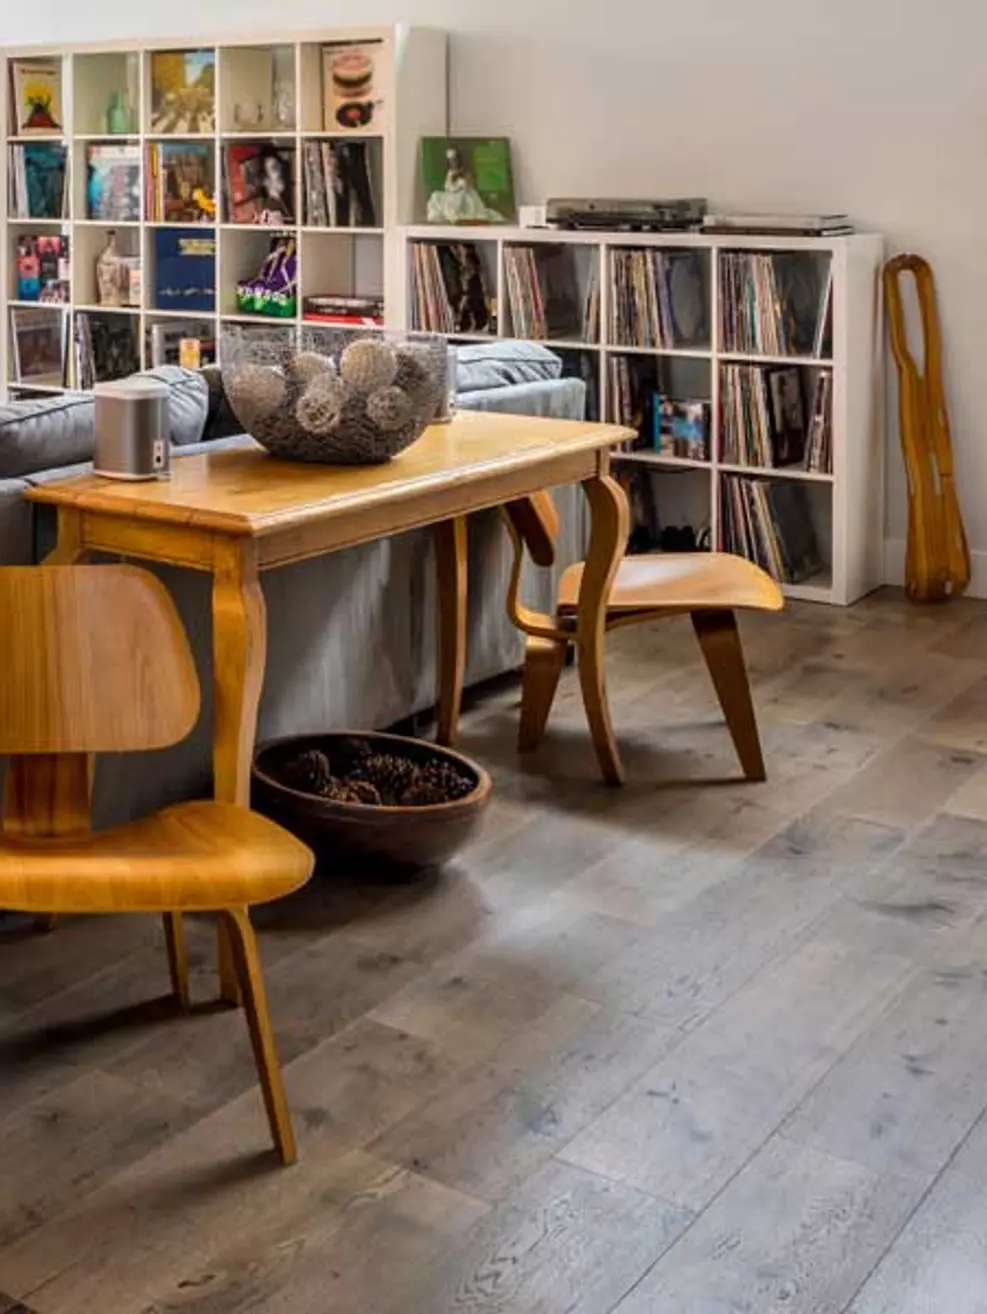
Installing wood flooring is a rewarding project that can enhance the beauty and value of your home. Whether you're considering a DIY approach or hiring a professional, proper installation is crucial for achieving a durable and flawless finish. In this comprehensive guide, we'll take you through the step-by-step process of installing wood flooring and explore the pros and cons of DIY versus professional installation.
- Preparation:
- Measure the room accurately to determine the amount of flooring needed.
- Acclimate the wood flooring to the room's humidity and temperature for at least 48 hours before installation.
- Prepare the subfloor by ensuring it is clean, level, and free of any debris or moisture.
- Gather the Necessary Tools and Materials:
- Wood flooring planks
- Underlayment (if required)
- Moisture barrier
- Adhesive or nails
- Hammer or nail gun
- Saw (miter saw, table saw, or circular saw)
- Spacers
- Tape measure
- Tapping block and rubber mallet
- Safety gear (gloves, safety glasses, knee pads)
- DIY Installation:
- Start by laying the underlayment or moisture barrier according to manufacturer instructions.
- Begin laying the wood flooring planks along the longest wall, using spacers to maintain expansion gaps.
- Install each row of planks, staggering the joints and ensuring a tight fit.
- Use a tapping block and rubber mallet to gently tap the planks into place.
- Cut the last row of planks to fit using a saw, ensuring a snug fit against the wall.
- Install trim or molding to cover expansion gaps and provide a finished look.
- Professional Installation:
- A professional installer will have the experience and expertise to ensure a flawless installation.
- They will use specialized tools and techniques to achieve precise cuts and tight joints.
- Professional installation may involve additional services such as subfloor preparation and removal of existing flooring.
- Hiring a professional can save time and effort, especially for complex installations or large areas.
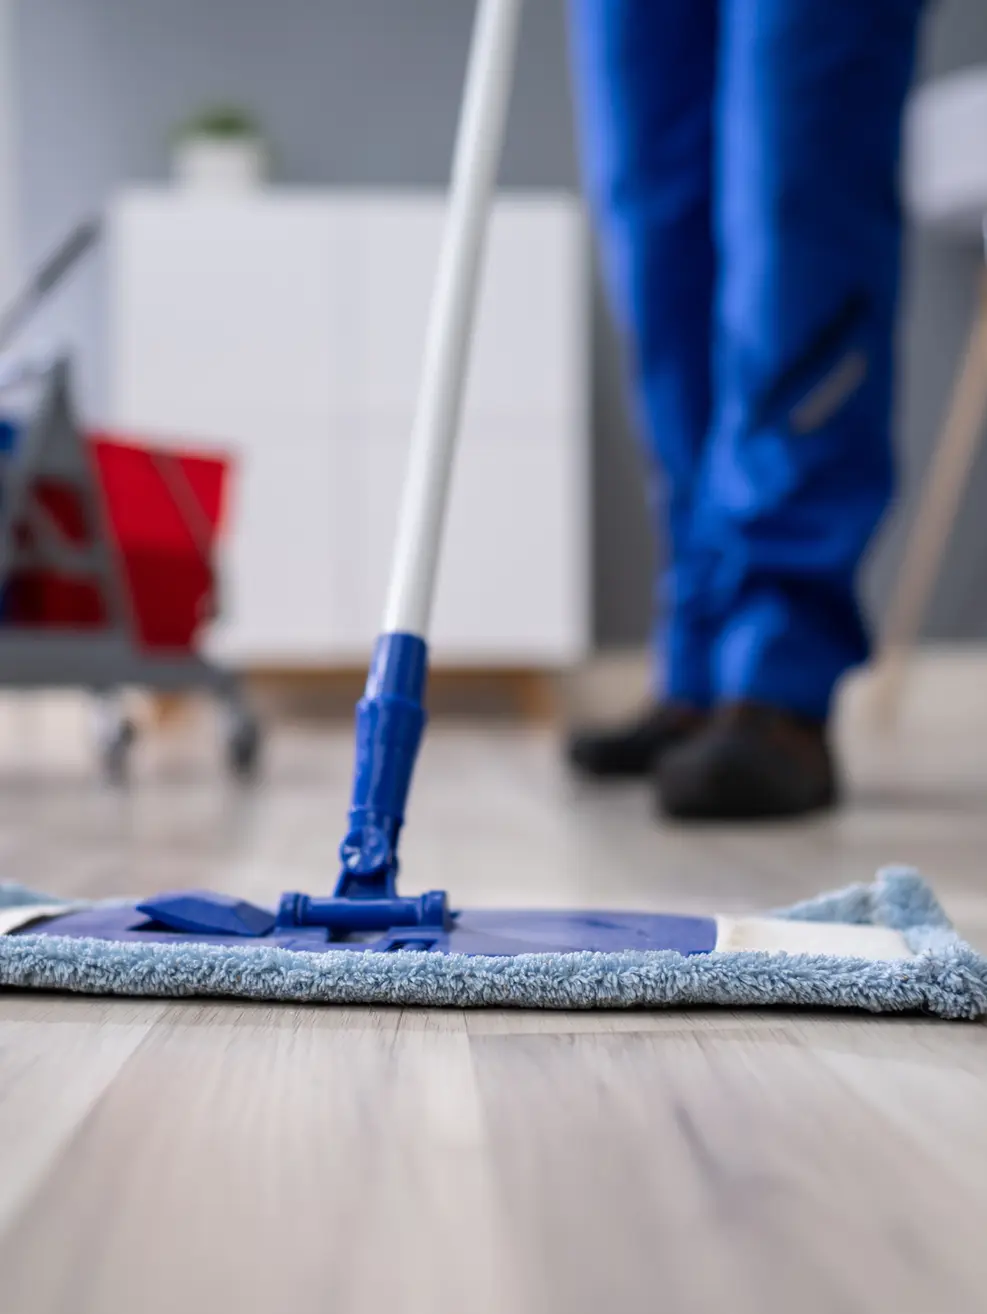
- Post-Installation Care:
- Clean the wood flooring thoroughly to remove any dust or debris.
- Follow manufacturer recommendations for maintenance and care to ensure the longevity of your wood flooring.
- Monitor for any signs of damage or wear over time and address them promptly to prevent further issues.
Whether you choose to tackle wood flooring installation as a DIY project or enlist the help of a professional, proper preparation and attention to detail are key to achieving a successful outcome. Consider your skill level, available time, and budget when deciding which approach is best for you. With careful planning and execution, you can enjoy the beauty and durability of wood flooring in your home for years to come.